

 +44 7596 946261
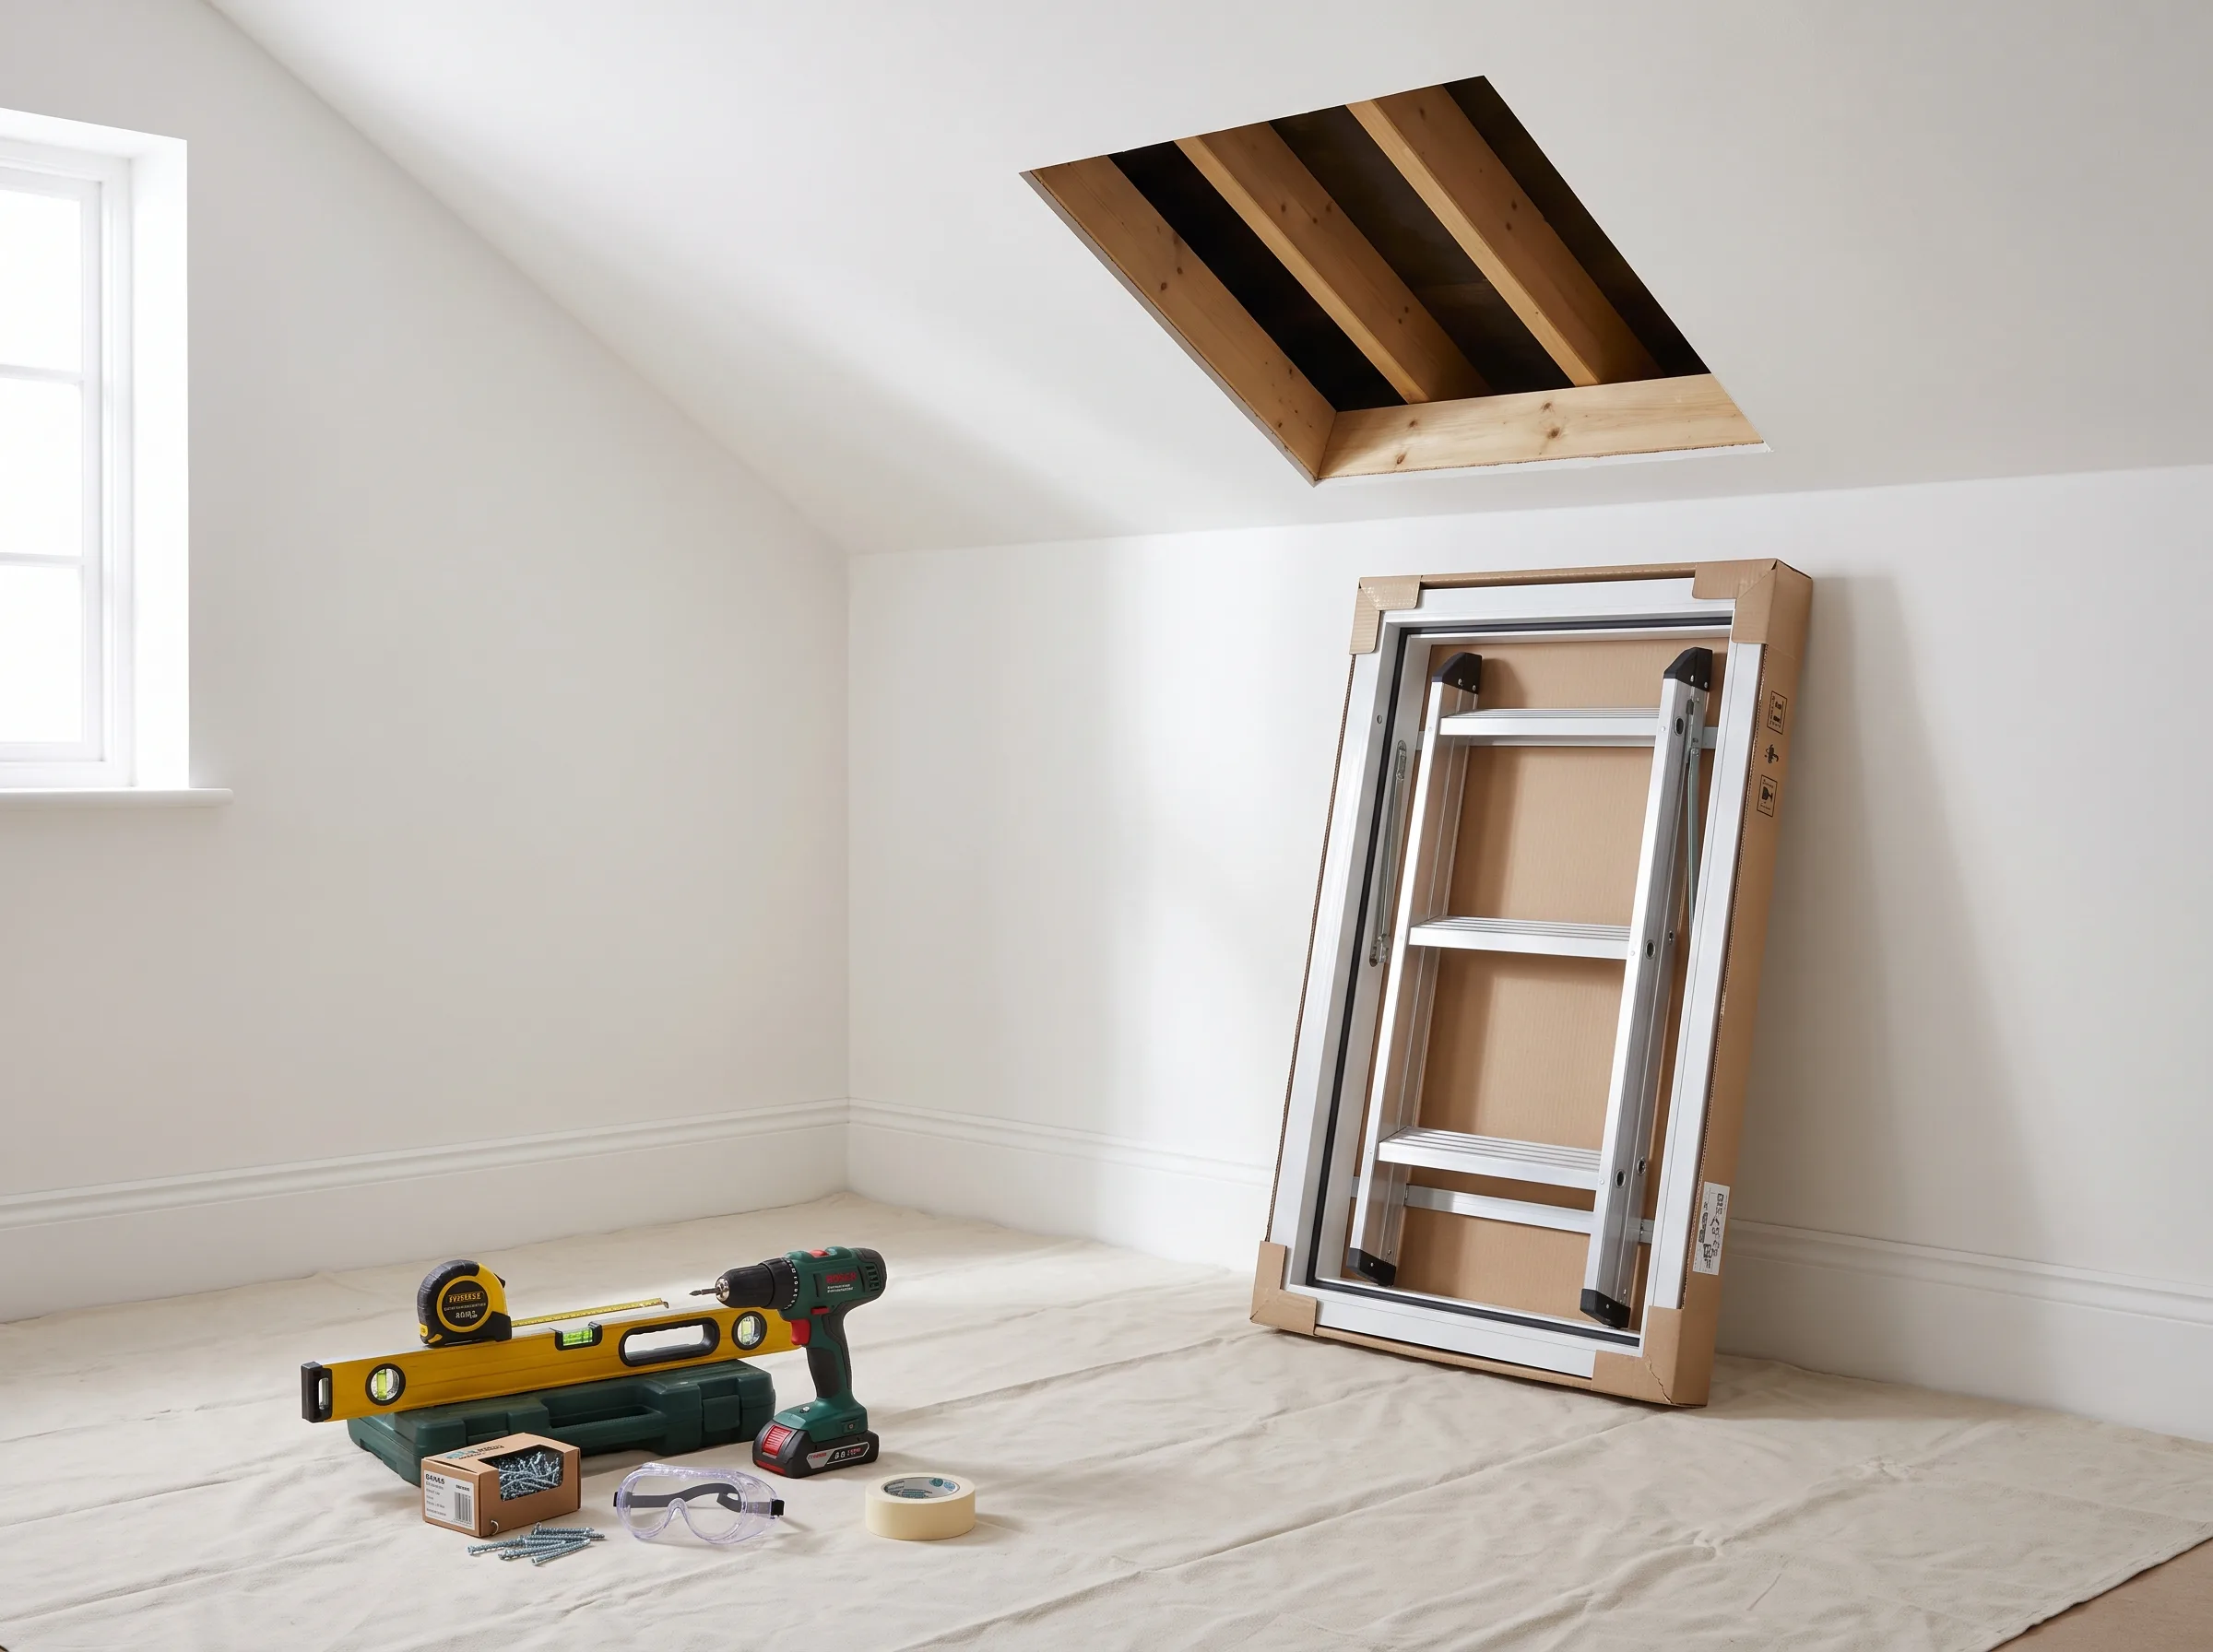
Good loft hatch installation preparation comes down to three things: clearing safe access, sorting out insulation and wiring near the opening, and checking whether your current hatch actually meets fire safety standards. Doing this before the installer arrives makes the work quicker, safer and far less disruptive to the room below.
Loft Hatch Installation Preparation: Where to Begin
Before any work starts, it helps to understand why a fire rated hatch might be needed at all. Under the Approved Document B guidance within UK building regulations, fire resisting loft hatches are required in certain situations, including buildings of three or more storeys and where the hatch opens onto a protected escape route.
A compliant hatch is not simply a thicker board. It is a factory made system, with the frame and leaf tested together and fitted with intumescent seals that expand under heat to hold back smoke and flame. Residential hatches are usually specified for 30 minutes of protection (FD30 or EI30) or 60 minutes (EI60), tested to BS EN 13501 or the British standard BS 476.
Because these are integrated systems, they cannot be improvised on site. Knowing this early tells you what the finished opening needs to accommodate, which shapes everything you do in preparation.
Clearance and Access a Fire Rated Loft Hatch Needs
The first practical question is size. UK building guidance, including NHBC recommendations and the BS 5250 standard, generally points to a minimum clear opening of around 520 mm by 520 mm, or 530 mm by 520 mm. Where the loft contains a boiler flue that must be inspected, Approved Document J calls for a larger minimum of 600 mm by 600 mm.
Alongside the opening itself, the installer needs room to work both below and above the ceiling. That means a stable footing on the landing or floor beneath, and enough space in the loft around the joists to reach the frame. A fire rated hatch also has to meet thermal and airtightness requirements under Approved Document L, keeping the U-value low and preventing the warm air draught sometimes called the chimney effect.
Clearing the Loft Space Before the Installer Arrives
The area immediately around the hatch needs to be clear. Move stored boxes, luggage and anything resting on the joists well away from the opening, so the working zone gives direct access to the timber structure.
Loose mineral wool insulation should be temporarily eased back from the joists around the opening. This lets the installer reach the ceiling frame without digging through insulation mid task, and it stops fibres being disturbed unnecessarily across the whole loft.
It is also worth protecting the room below. Removing an old hatch can release dust, insulation fibres and soot, so covering furniture and flooring beneath the opening keeps the mess contained and the clean up simple.
Insulation and Wiring Issues to Sort Out First
Wiring is one of the most overlooked parts of preparation. Cables running across the joists must not be crushed or tightly buried under thick insulation without considering the risk of overheating, and any cables feeding ceiling lights near the opening should be identified and protected before mechanical work begins.
Heavier cables, such as those supplying an electric shower or cooker circuit, sometimes run close to where the new frame will sit. These need careful handling. Anything involving live circuits, rerouting or disconnection is work for a qualified electrician, not a DIY task carried out from a loft ladder.
Insulation itself may also need attention. If the existing layer is compressed, damaged or blocking the frame position, it should be repositioned so the finished hatch can be insulated correctly without leaving cold spots or gaps.
Older Lofts, Asbestos Risk and Dust Protection
Older properties deserve extra care. Some lofts contain loose vermiculite insulation or ceiling boards that may include asbestos, and any suspected material should be tested and assessed before mechanical cutting or drilling takes place. This is a specialist matter, never something to disturb yourself.
If asbestos is present or suspected, stop and arrange a proper survey first. A responsible installer will want this confirmed before touching the ceiling, because breaking into unknown materials creates a genuine health risk. Preparation here is about caution, not speed.
Dust control also matters more in older lofts, where decades of settled debris and soot can sit around the hatch. Sealing off the room below and having sheeting ready keeps that contamination out of your living space.
How to Check Whether Your Current Hatch Meets Fire Safety Standards
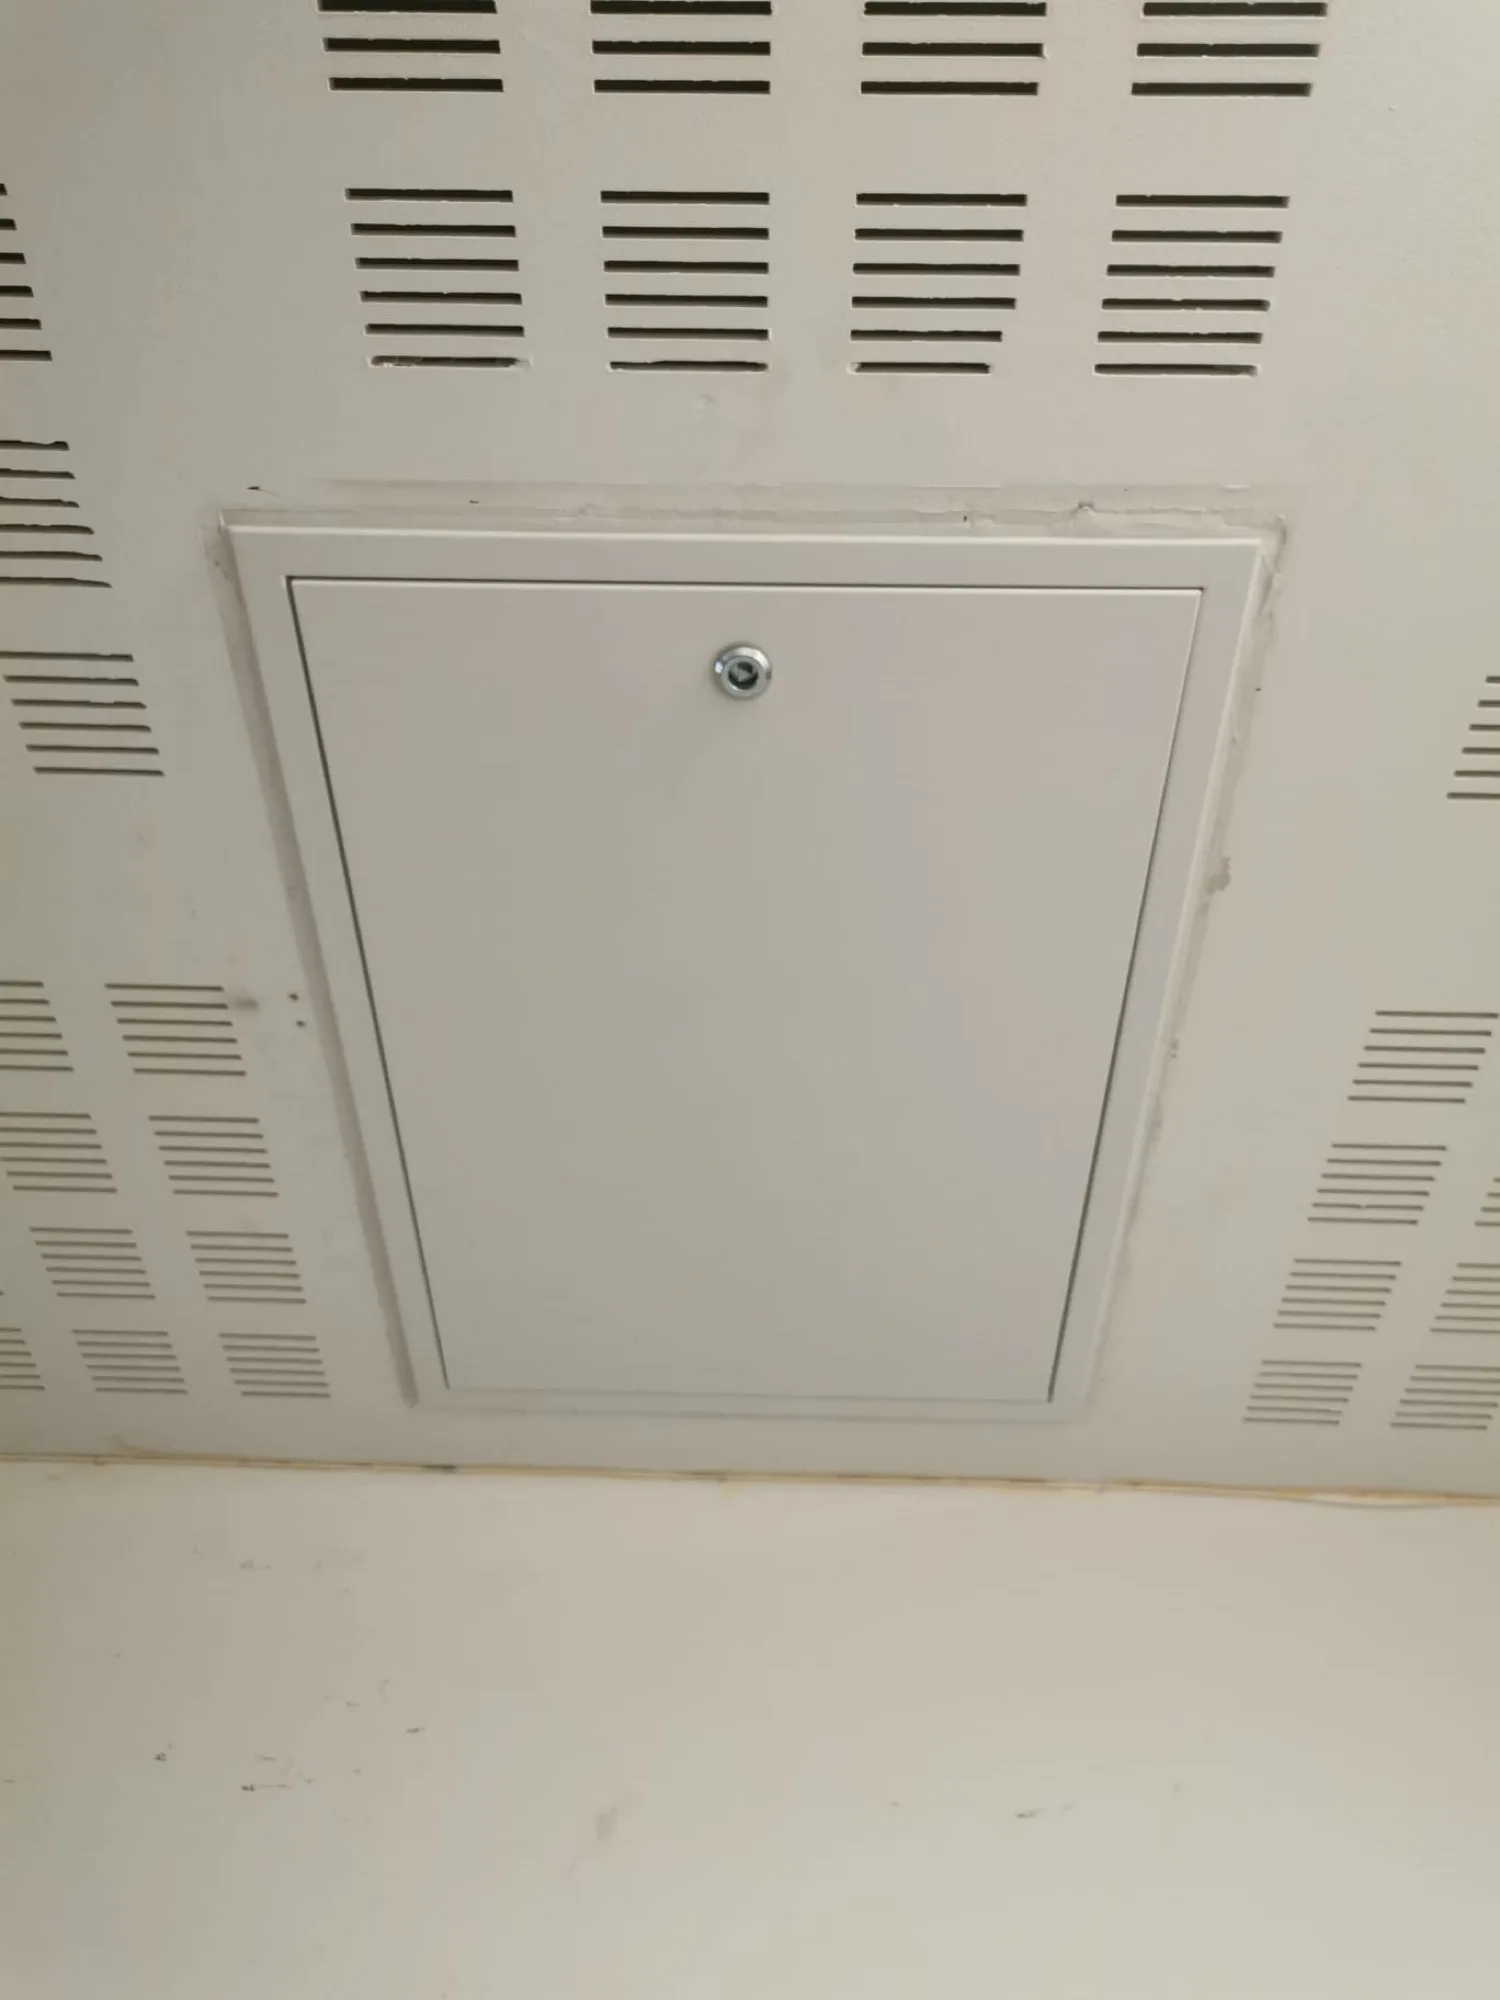
You can carry out a basic visual check yourself. A genuine fire rated hatch will usually carry a manufacturer's certification label, show intumescent seals around the edges, and clearly be an engineered unit rather than a plain timber offcut or an unprotected push up plastic panel.
The difficulty comes with older metal hatches that have been painted over, where original test markings may be worn away or hidden. If you cannot confirm what a hatch is, treat it as unproven rather than assuming it is compliant.
| Feature | Compliant fire rated hatch | Standard non-rated hatch |
|---|---|---|
| Construction | Factory tested frame and leaf as one system | Loose board or push up plastic panel |
| Seals | Intumescent seals around the edges | None, or draught seals only |
| Certification | Manufacturer's label and test data | No label or markings |
| Fire performance | Rated to 30 or 60 minutes (EI30/EI60) | No fire resistance |
| Thermal and air seal | Insulated, sealed to Approved Document L | Often draughty and uninsulated |
Structural Work and Building Control
Sometimes the existing opening is too small for a compliant hatch, and enlarging it means cutting into the ceiling joists. In UK terminology a loft hatch is the ceiling opening into a domestic roof space, distinct from a broader access hatch used for services in walls and ceilings.
Any structural change that involves cutting or trimming joists to widen the opening falls under Building Control, in line with the structural integrity requirements of Approved Document A. This is not a corner to cut. Because the details depend on your specific roof and floor structure, confirm the requirements with your local authority Building Control or a suitably qualified specialist before work begins.
Bringing It All Together
Preparation is mostly about access, safety and honesty about what you already have: clear the working zone, ease insulation back from the joists, protect wiring and the room below, and check whether your existing hatch is genuinely fire rated. Where structure or asbestos is involved, pause and get the right people in.
If you would like help getting this right, our team can advise on the correct specification and carry out a compliant fire rated loft hatch installation tailored to your property. Get in touch for a free quote and we will talk you through what your loft needs.
FAQ - Frequently asked questions
Do I need to empty my entire loft before the work?
No, you only need to clear the area around the hatch opening so the installer has direct access to the joists and frame. Moving stored items and easing insulation back from the immediate working zone is usually enough.
Can I fit a fire rated loft hatch myself?
A fire rated hatch is a tested system that must be installed correctly to perform as intended, so professional fitting is strongly advised. If enlarging the opening involves cutting joists, that also falls under Building Control and is not suitable for DIY.
What should I do if I suspect asbestos around my hatch?
Stop and avoid disturbing the material, then arrange a proper asbestos test and assessment by a qualified specialist. Mechanical cutting or drilling should never take place until any suspected material has been confirmed safe.
How do I know if my home even needs a fire rated hatch?
Requirements depend on factors such as the number of storeys and whether the hatch opens onto a protected escape route under UK building regulations. Because it varies by property, confirm the position with Building Control or a fire protection specialist.